
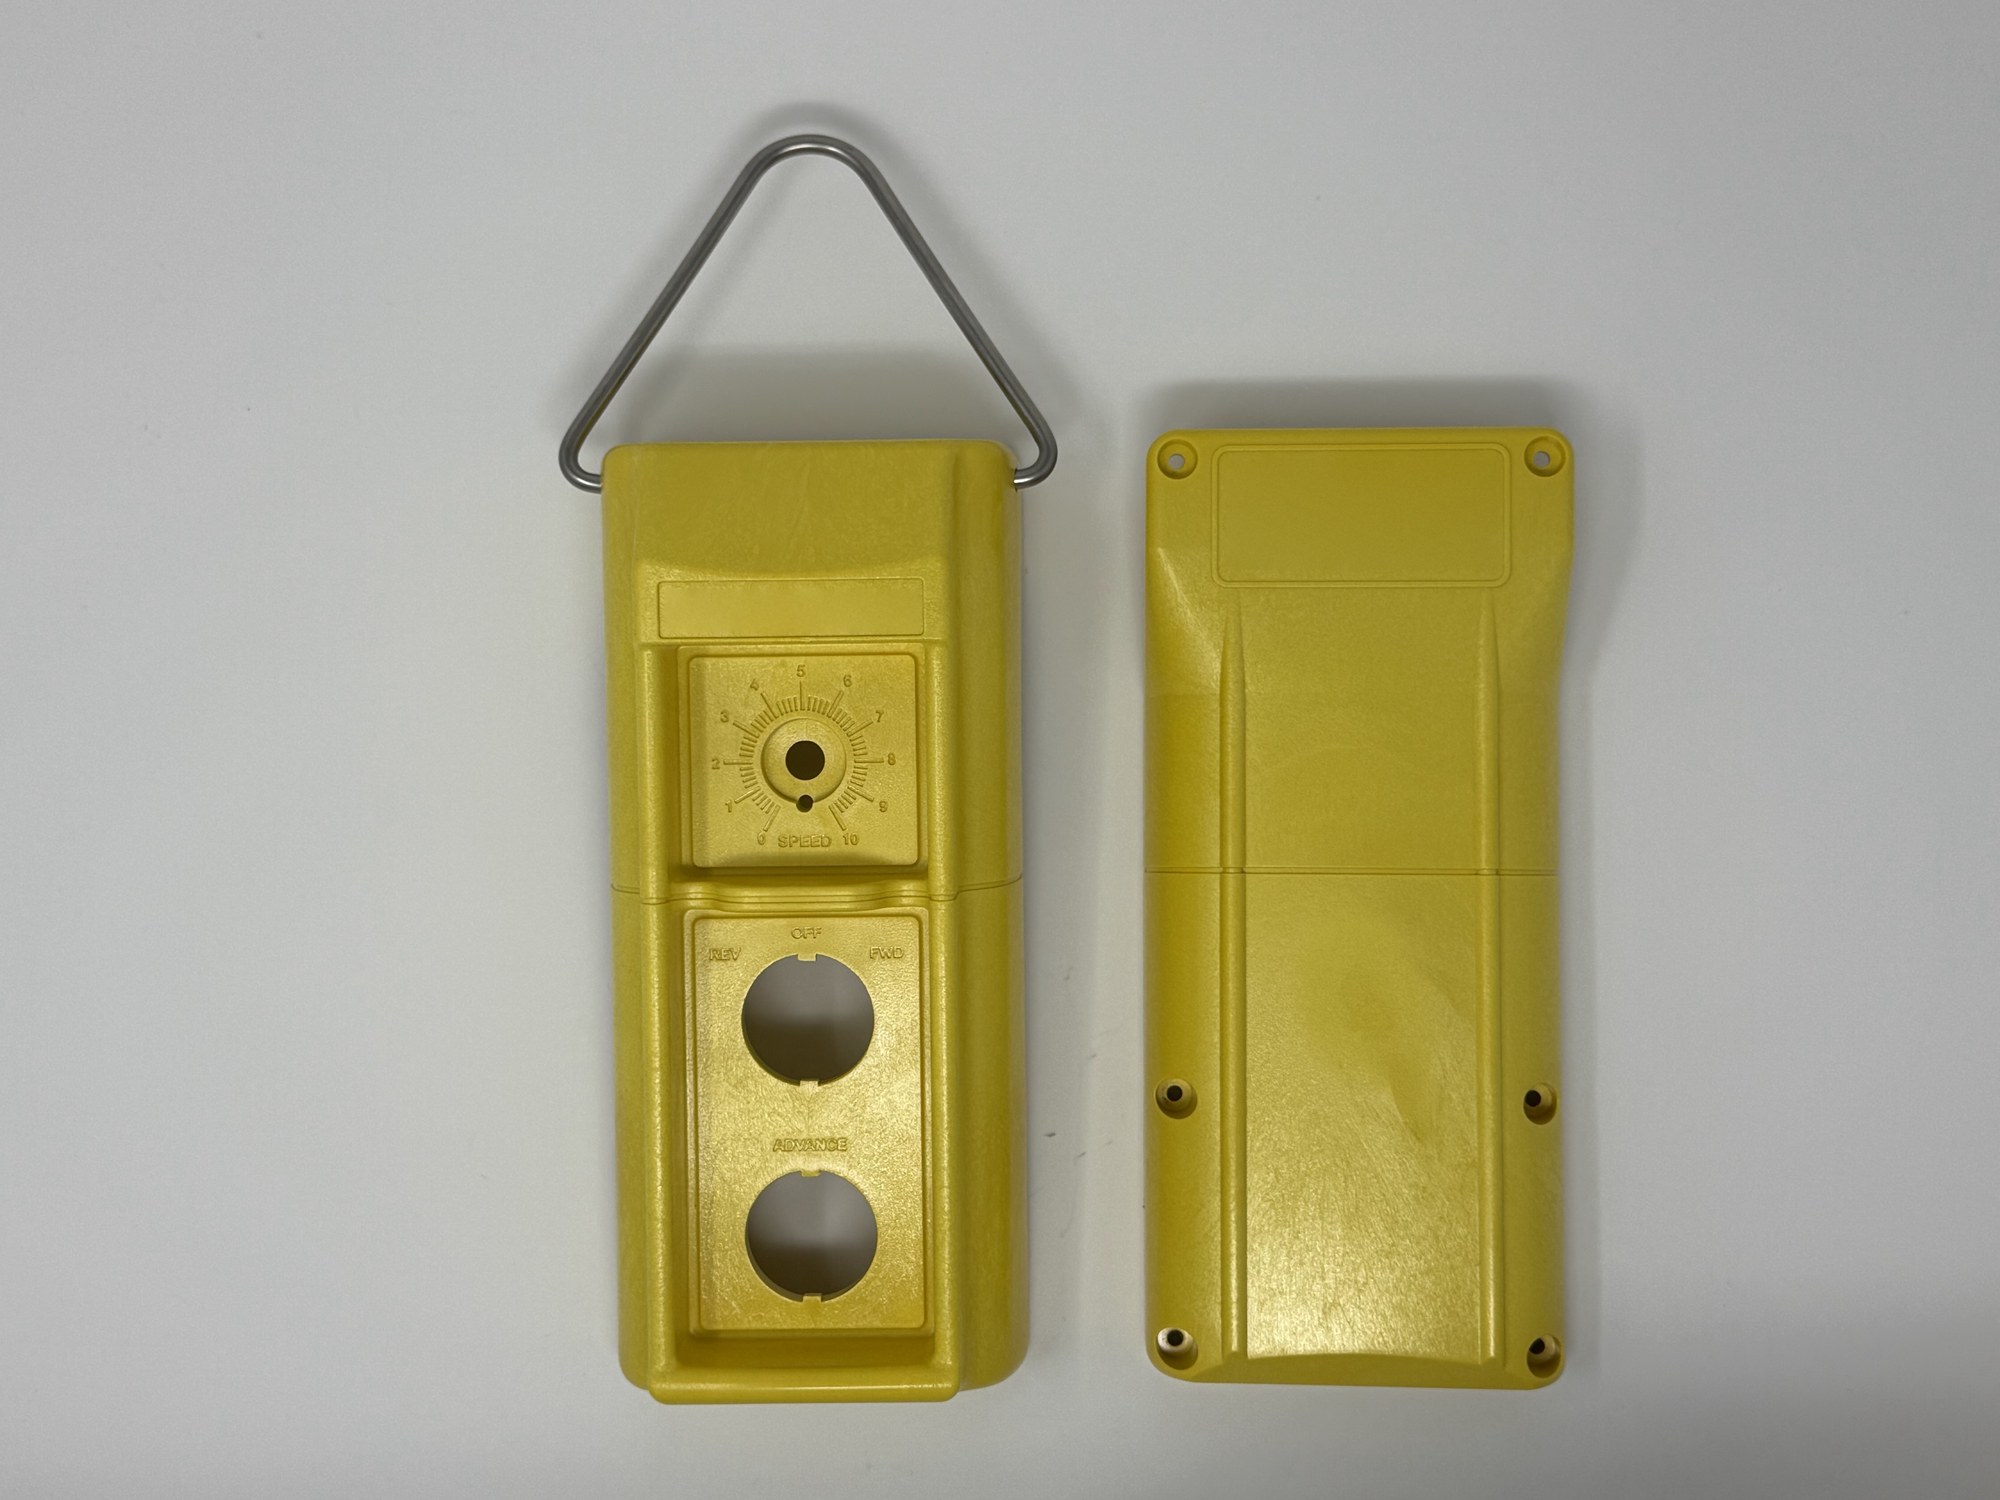
Short answer when a supplier discontinues a plastic part you still need, you can have it rebuilt from a physical sample. The usual path is to measure and model the part, prove it with a 3D-printed prototype in your own equipment, build a production tool you own, and mold it. It’s also your chance to fix whatever was wrong with the original.
Signs you’re about to have this problem
- A supplier sends a last-time-buy or end-of-life notice.
- Lead times stretch from weeks to “we’ll let you know.”
- The only source left is used or surplus stock.
- You’re still building or servicing equipment that depends on the part.
Start early. Redesigning your own product around a missing part almost always costs more than replacing the part.
Step 1: Gather what you have
A physical sample is the most useful thing, ideally two: one to measure and one that is still assembled. Add whatever else exists: old drawings, photos, the mating parts, and notes on what has gone wrong with it in the field. No drawings at all is fine; plenty of projects start with just a part.
Step 2: Measure and model
The sample is measured and modeled in 3D. The things that matter most are the features that touch your equipment: mounting holes, sealing surfaces, snap fits and openings. Getting those right means the new part drops into your existing assemblies.
Step 3: Decide what to improve
Since the part is being modeled from scratch anyway, fix what bothered you about the old one:
- Labels or logos that peel can be molded in.
- A weak area can be thickened or ribbed.
- A better material can be specified for heat, impact or chemicals.
- Two parts can sometimes become one, removing an assembly step.
Step 4: Prove it with a printed prototype
Before tooling, a 3D-printed prototype goes into your equipment for fit and function checks. Any change at this stage costs a reprint, not mold rework, so by the time the tool is ordered, the design has already been approved in your hands.
Step 5: Tooling and production
The production tool is built for your part, and you own it. That alone solves the problem that started this: the next time a supplier changes plans, your tool doesn’t go with them. First samples are checked against the approved prototype, then production runs with inspection before shipment. See Injection Molding for how we handle tooling.
A real example
An industrial equipment manufacturer’s long-time supplier stopped making a two-piece pendant control enclosure, and the tooling was going away with it. Starting from samples only, we modeled both halves, printed prototypes for fit and switch-layout checks, and built tooling in glass-filled nylon. Production parts were running in about six months. The new enclosure has the logo, part number and switch labels molded in instead of printed on stickers that peeled. Read the full Pendant Enclosure story →
Common questions
Do I need the original drawings?
No. A physical sample is enough to start.
Will the new part fit our existing assemblies?
That’s the point of modeling from the sample and testing a prototype in your equipment before tooling.
How long does it take?
It depends on the part. Tooling alone typically takes 4–12 weeks. Our pendant enclosure project went from first contact to production parts in about six months.
Can you do non-plastic parts too?
Yes. We also handle machined metal parts and cable assemblies, and can copy a harness from a sample.