
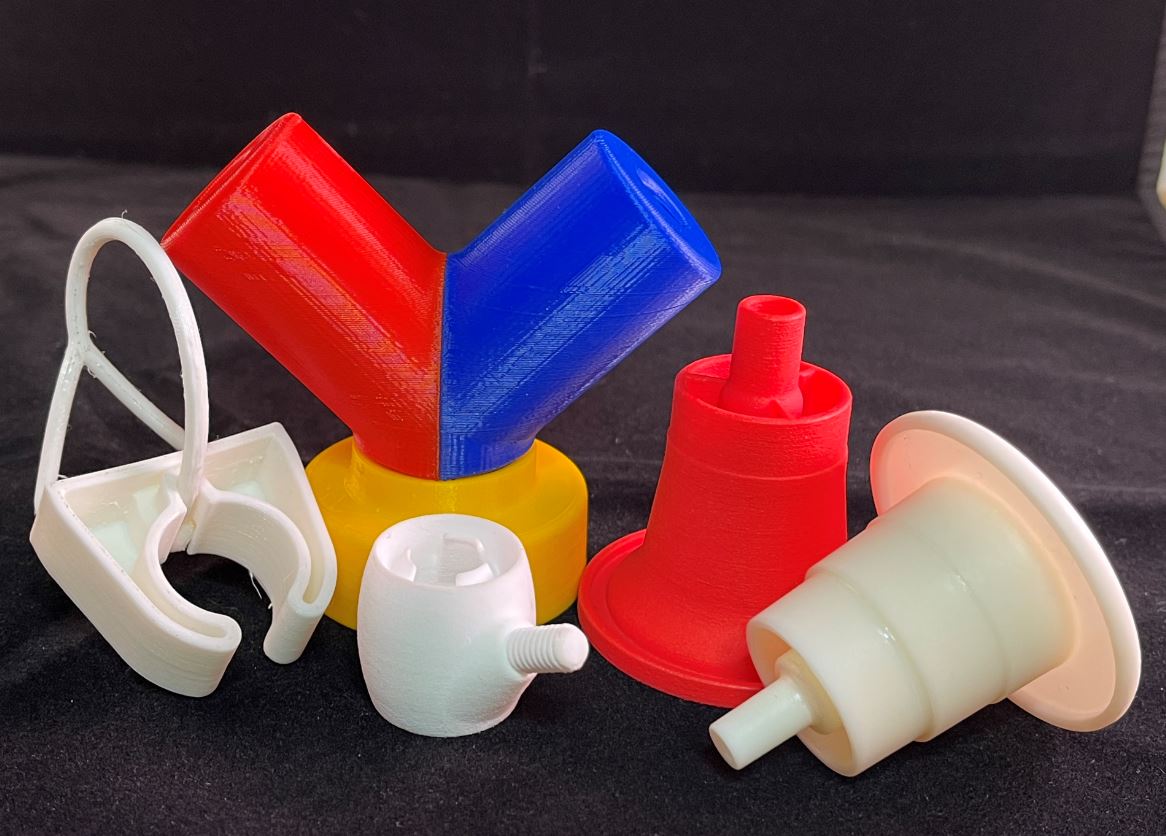
Short answer 3D printing fits prototypes, low quantities, complex shapes and designs that are still changing. Injection molding fits proven designs at higher quantities, where you want a lower cost per part, consistent cosmetics and a specific resin. Many projects use both: print it, test it, then mold it.
The five questions that decide it
1. How many do you need, and how often?
Printing has no tooling cost, so each part costs about the same whether you order one or fifty. Molding needs a tool up front, then each part costs less as quantities grow. Where the crossover falls depends on the part’s size and complexity, so it’s worth quoting both when you’re near it.
2. Is the design finished?
If the design may still change, print it. A design change on a printed part is a new file. On a mold it’s rework or a new tool.
3. What does the part need to be made of?
Printing materials have come a long way: nylons (PA 11, PA 12, glass-filled), polypropylene, flexible TPU, and even metals like aluminum and stainless steel. Molding still offers far more resins, plus specialty grades for heat, impact, chemicals or UV. If the part needs a specific resin, that often settles it.
4. How complex is the shape?
Printing handles internal channels, lattices and undercuts that would make a mold complicated or impossible. Molding rewards simpler geometry with draft angles and even walls.
5. How fast do you need parts?
Printed parts can ship in days. Molded parts wait on the tool, typically 4–12 weeks, then come off the press quickly. If you need parts now and volume later, start printing while the tool is built.
Side by side
| 3D printing | Injection molding | |
|---|---|---|
| Up-front tooling | None | Mold required |
| Cost per part as quantity grows | Roughly flat | Falls with quantity |
| Design changes | New file | Mold rework |
| Materials | Nylons, PP, TPU, metals | Very wide resin choice |
| Complex internal features | Strong | Limited by the tool |
| First parts | Days | After tooling (weeks) |
| Surface finish | Textured; dye or vapor polish available | Set by the tool; can be smooth or textured |
The common path: print it, test it, mold it
- Print it. Prove the design with 3D-printed parts.
- Test it. Check form, fit and function in the real application.
- Mold it. Build the tool once the design is right, and run production.
That’s how Pole Buddy went from a sketch to a molded product, and how our own Socket Lock™ went from printed prototypes to production tooling.
Common questions
Can printed parts be used for production?
Yes, for the right part. Industrial printing with nylon and metal makes functional end-use parts, especially at low volume or for complex shapes.
Can I get a quote for both?
Yes. Upload a file for an instant 3D printing quote, and request an injection molding quote to compare.
Is there a minimum order for either?
No minimum for 3D printing and no minimum run for injection molding.